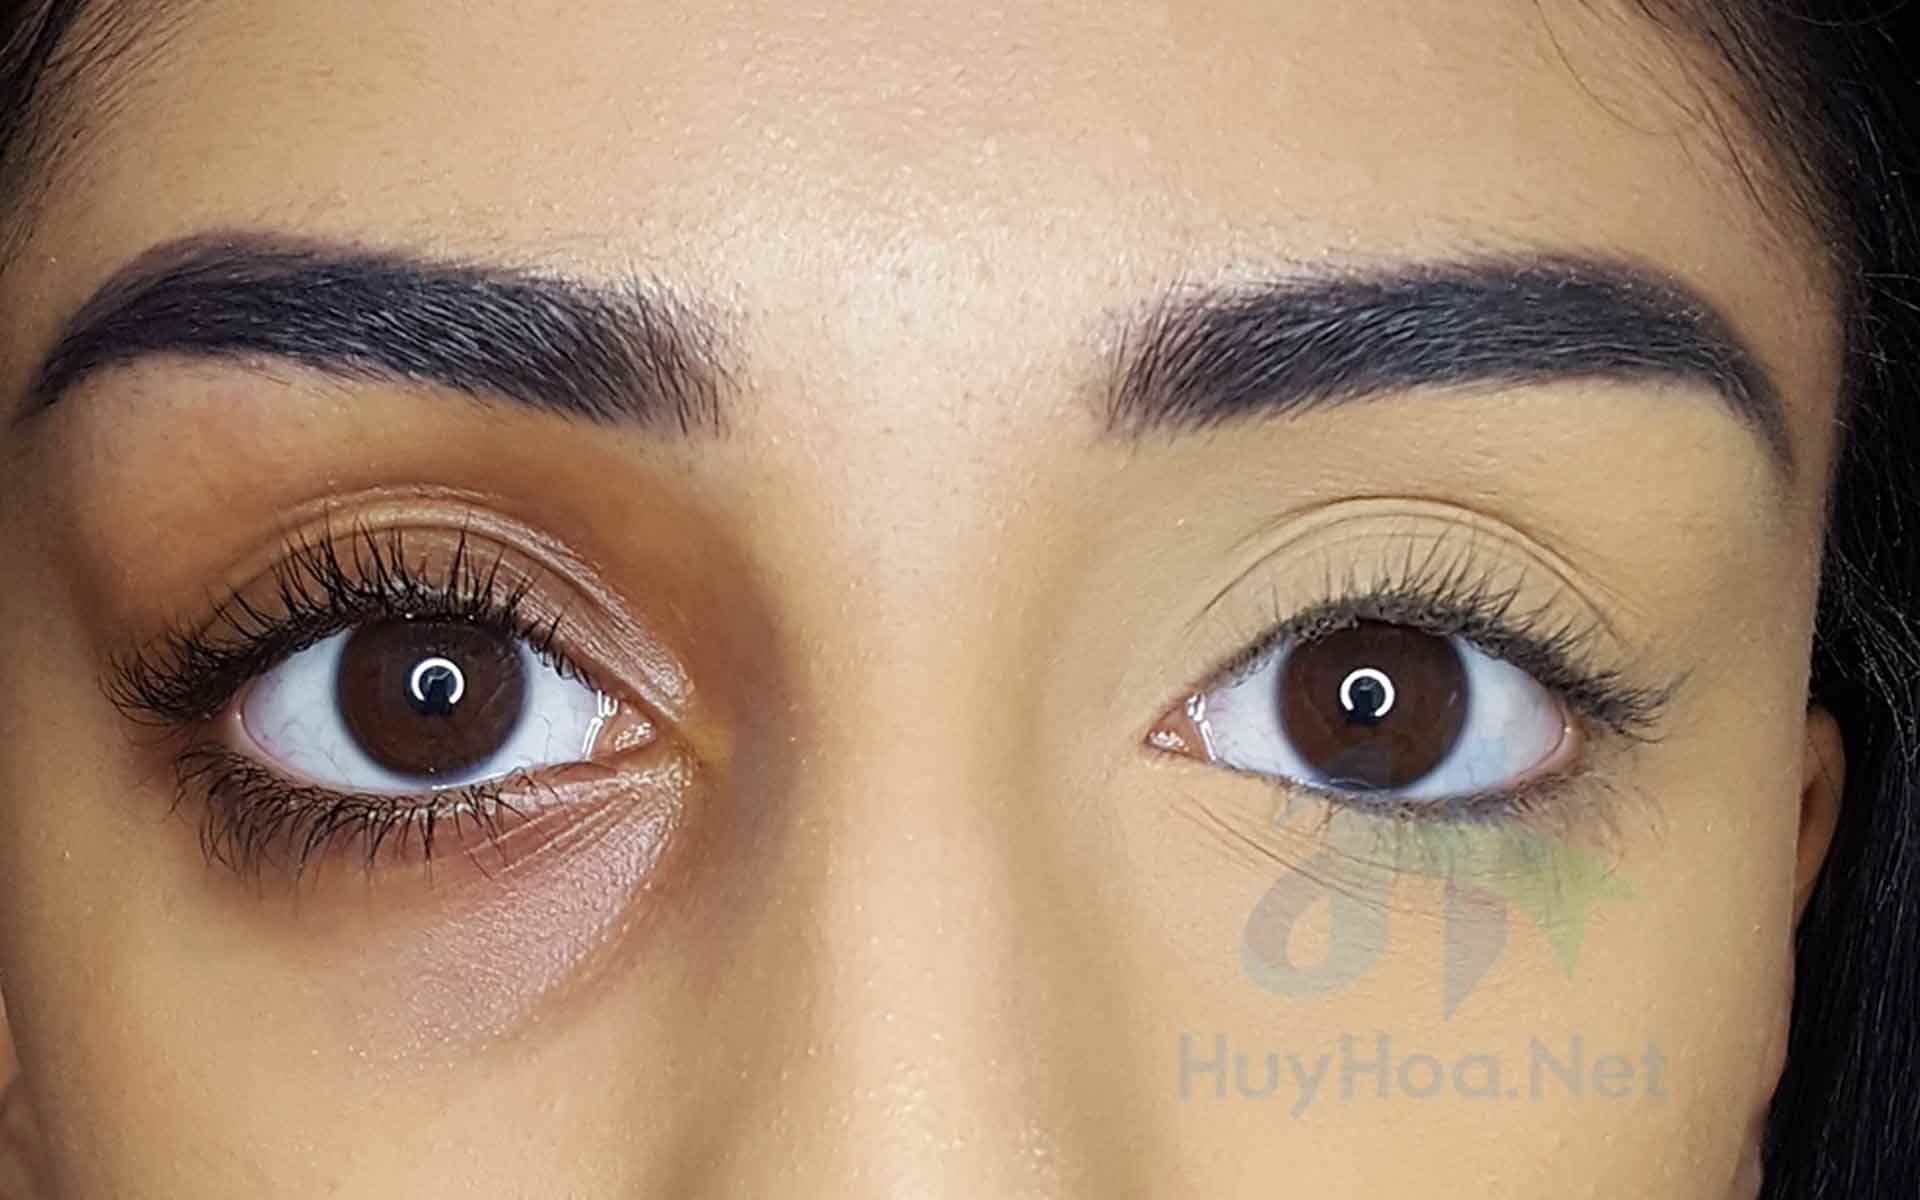
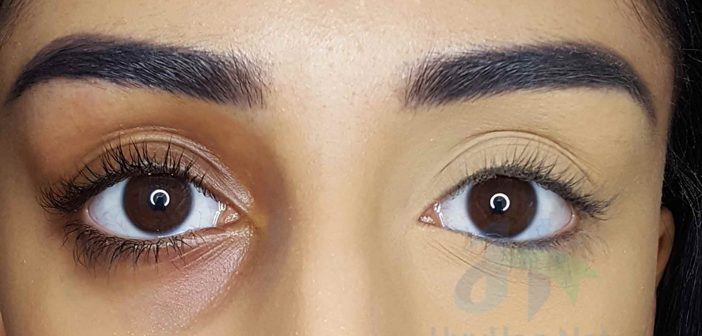
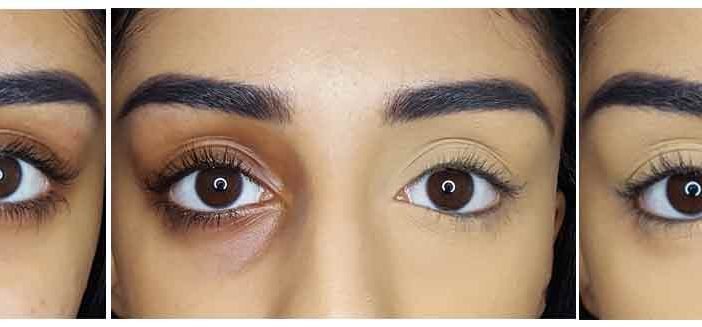
I think the number one question I get asked is how I cover my dark under-eye circles. Being of Asian descent means I have horrible hereditary dark under-eye circles/hyperpigmentation.
It is through accidental discovery that I found a way to cover this hyperpigmentation with these three key products I am going to show you. In this post, I will be showing you how to cover under-eye circles, or how I cover dark under-eye circles, rather.
The whole purpose of this post is not only to show you but to guide you. I didn’t want this post to be a post that tells you what to do. I am simply explaining what I do to cover hyperpigmentation, and how I achieve such amazing results.
Table of Contents
What I Use
Products:
- L.A. Girl Pro Conceal HD Concealer – Orange Corrector
- Kevyn Aucoin Sensual Skin Enhancer – SX11
- Maybelline Fit Me Concealer – 20
- Ben Nye Luxury Powder – Banana
Tools:
- Real Techniques Deluxe Crease Brush – Real Techniques Starter Eye Set
- Royal & Langnickel S.I.L.K Shade & Conceal Brush – BC211
- Beautyblender Beautyblender Sponge
- Beautyblender Micro Mini Duo Sponges
- Real Techniques Setting Brush
How to Cover Dark Under-Eye Circles
How to Conceal Under Eye Bags
Step 1. Eyes should be de-puffed
Apply cool eye gels, ice packs or cool teaspoons to the eye area and massage the whole area. Coolness can constrict blood vessels and activate the body’s natural response of draining the fluid.
Step 2. Use eye cream
You can decide whether to use an eye cream. Hydrating and nourishing the skin is important. Otherwise, concealer and correctors will not sink in.
Step 3. Layer on the foundation
Apply a foundation to your entire face, and blend it in under your eyes. A neutral skin tone is common for girls. It can be a mixture of yellow and pink. Use a finger to apply it, then use a damp beauty sponge to blend it.
Blend a dark and a light shade together to create the foundation that you are looking for. Then blend it into your cheeks and neck. The perfect shade for you is one that blends both colours naturally.
Step 4. Use a corrector
It is not possible to use a foundation that covers dark circles. This will make your skin look ashy. Correctors use colour theory to mask the pigmentation and bruised eyes. Use an orange corrector to remove purple tones from the skin.
Use a beauty sponge to apply thin layers of orange using a press-push technique. The translucent orange will then be applied to the skin and you can conceal it. This allows you to use less concealer to balance the darkness.
This is especially important if you plan to take high-resolution photos.
Step 5. Use a concealer to blend it in
To brighten the under-eyes it’s best to use a light-reflective concealer that is a shade lighter than your skin.
You need to choose a concealer that suits your skin type. You will need a concealer that is dense, matte and does not crease if you have fine lines.
You can choose a more hydrating liquid for skin that is relatively smooth. A cream stick or pot will provide more pigment.
Use a synthetic bristle brush to apply small amounts of concealer around the inner corner and the inner third. Push-press the concealer in with your fingertips.
Avoid getting too close to your lashes as this can cause buildup and creasing. Add more pigment in thin layers if you have to.
Step 6. It should be done well
Blotting papers can be used to remove the shine from the area. Next, use a small brush for applying setting powder to the area.
We recommend using a translucent powder as the loose powder can eventually cake up. Apply a fine mist spray to fix shine and sweat.
How to Get Rid of Dark Circles Under Your Eyes: Under-Eye Concealer Tips
Step 1
I prepare my under-eye area by moisturizing it. My personal favorite eye cream is still to be found. I use a small amount of my moisturizer on my skin and rub it under my eyes using my fingers.
This is a crucial step to ensure that the undereye area is well hydrated in order to avoid any cakiness.
Step 2
Apply my foundation just like normal. I do not apply it to my undereye area. This is to reduce creasing under the eyes.
Foundation under my eyes is not necessary as I will be using a color corrector. It leaves creases underneath my eyes even though I use concealer, foundation, and color corrector. It’s fine to leave your lid area out.
It’s not necessary to apply foundation to your lids. If I intend to use heavy eyeshadows, I will leave my lids out.
Step 3
After I have finished using the remaining liquid/cream products (i.e. Cream contouring, I apply an orange corrector to my eyes. )
The shade orange corrector is the Girl Pro Conceal HD Concealer. The NYX Concealer Jar Orange is another good Orange corrector.
Hyperpigmentation color correction is different for different skin types. This chart will help you determine which color corrector is best for your skin.
- fair to light complexion, dark circles – salmon corrector
- Dark circles, light to medium skin tone, dark circles – corrector
- medium to dark complexion, dark circles – orange corrector
- dark to deep complexion, dark circles – red/brick corrector
Straight from the L.A., I apply the corrector. It is important to remember that I only apply a small amount of the corrector on areas where I have discoloration.
There are many videos of people color correcting on Instagram. They have an Orange corrector almost halfway down their faces. This is a no-go! Only apply the corrector to areas of discoloration.
Step 4
After applying the orange corrector to each of my eyes, I take the Real Techniques Deluxe Creme Brush (from Real Techniques Starter Eye Set) and buff the corrector with it.
This brush is perfect for my under eyes. The bristles are dense and perfect for buffing or blending product. After mixing the corrector with the brush, I go in with my finger to tap the corrector – to remove any product.
This helps to melt the product more easily into your skin due to the warmth of the skin.
Step 5
This is the most amazing and miraculous part. My heavenly mix of full coverage is my salvation.
Next, I take a flat concealer brush and apply a little of the Kevyn Aucoin Sensual Skin Booster ( full cover cream product) to the back of my hands.
Next, I take the Maybelline to fit my concealer (light-medium coverage liquid concealer in the shade 20) and place two portions on my hand.
After mixing the Kevyn Aucoin SE and two parts of Maybelline Fit Me, I apply it to my undereye area with my flat concealer brush.
The Maybelline Fit Me Concealer doesn’t have to be used. I just love using it with my SSE because it gives me the best coverage. You can use any concealer you prefer, but make sure it is a liquid concealer.
I have found that a cream concealer can cause major creases under the eyes. I mix it with liquid concealer to get the best of both!
Step 6
Apply my concealer mixture to one side of my face in a triangle shape. I start just below the spot where I applied the corrector. (Applying it in triangular shapes highlights and lifts the skin).
The concealer is then applied under my eyes, building up. Apply any concealer that you have leftover from the brush to your lids. You can concentrate concealer only on your under eyes if you don’t have enough concealer.
Step 7
Then I take my trusted damp Beautyblender, and blend away! I usually blend the concealer first on my lids before I go to my under eyes.
I recommend the original Beautyblender if you don’t already have it. It’s a must-have for my makeup routine. The Real Techniques Miracle Complexion sponge is an amazing makeup sponge at just $5.99
It’s important that you take your time when blending this stage. You shouldn’t do anything until you are completely satisfied with the way it’s blended.
Step 8
To set my under eyes, I prefer to use loose powder. It performs better than a powdered powder. Ben Nye Luxury Powder in Banana is my favorite setting powder.
Yellow-toned powders are great for brightening the undereye area, and they’re perfect for people with a golden undertone.
I recommend the RCMA No Colour powder or the Collection Loose in Translucent if you have a light skin tone.
Sacha Buttercup Powder is a great option for those with deeper skin tones. You can also choose from any of the darker shades in the Ben Nye Luxury Powder Range.
Then I take another damp sponge (Micro Mini Blending sponge by Beautyblender) and dip it in my powder. I then blend my concealer with my first damp Beautyblender.
Next, I quickly press the mini sponge with powder onto my undereye area. This ensures that there is minimal creasing. The sponge is then covered with powdered and pressed onto my inner corner.
Then I take my Real Techniques Setting Brush and use it to brush off any excess powder.
It is my first attempt at setting the hidden areas. I use a powdered damp sponge to do this. This allows me to work flawlessly and leaves no marks.
Before this technique, I used to use a setting brush and powder. This would cause the concealer to be ruined and leave marks.
Step 9
The same steps are repeated on the opposite side of my face. To remove any powdery look, I apply MAC Fix+ to my entire face after I’ve finished my base makeup. We’re done!
The full coverage of the Kevyn Aucoin Sensual skin enhancer is perfect for covering scars and hyperpigmentation. I use the same shade/tone as the foundation that I use, which is darker than my natural skin color.
I also use it alone to cover any other blemishes/scars on my face. I find the SSE too heavy to be used under my eyes so I use it in combination with the Maybelline fit me concealer.
I love the crease-free, full coverage of this under-eye concealer. This combination is a wonderful combo. It is my life.
This combination is a winner for me. The Kevyn Aucoin SE also works well with the Maybelline Eraser Eye Concealer. The Maybelline Fit Me Concealer is my favorite, as it feels lighter.
You can experiment with other concealers if you wish. The Godly Kevyn Aucoin Serum ESE is the best concealer for full coverage of hyperpigmentation. Click here for a complete review of the Kevyn Aucoin SSE. It’s why I love it so very much!
I hope you learned something from the video and my written description. This post was written with the intention of being perfect and to serve as a reference point for any questions I get about hyperpigmentation.
Comment below to let me know if this post was helpful. It would be greatly appreciated!
Please let me know if you’d like me to make a video showing this technique for other skin tones. If you have any questions, please let me know.


