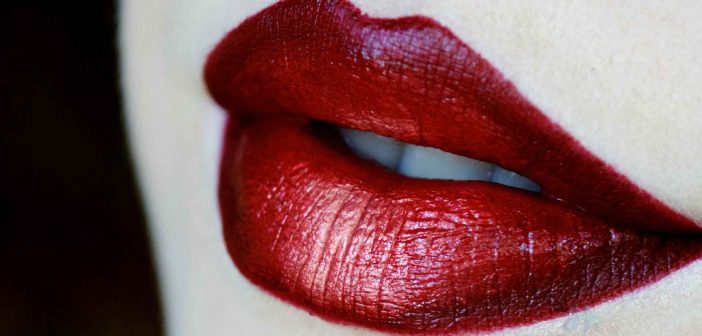
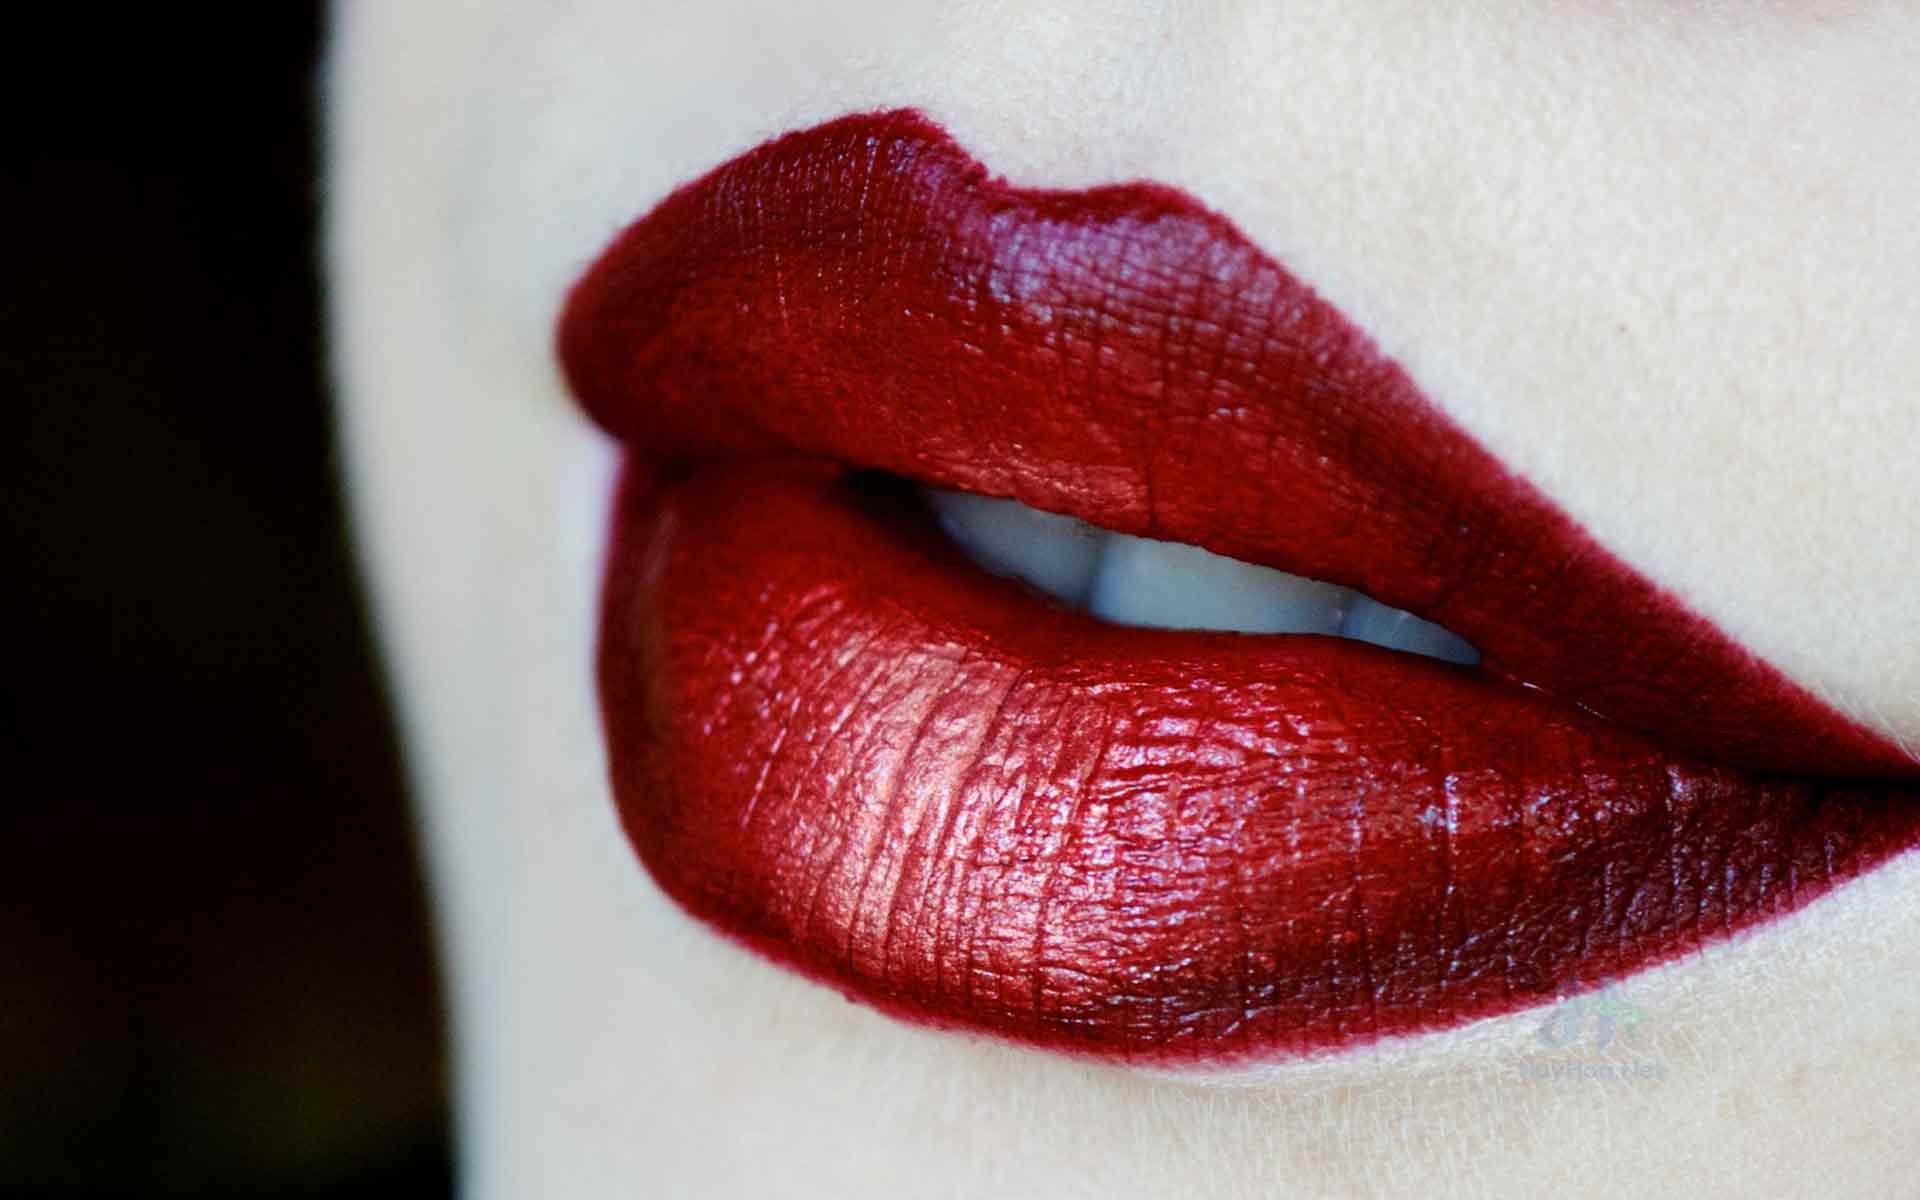
Ombré is a French term meaning ‘shaded’. This usually refers to a colour that is graduated in tone.
I am by all means no expert in this, in fact it has been a while since I have done this. That’s not to say it’s hard though! Let me show you how to achieve an ombre lip in a few very simple steps.
You will need:
- Concealer/Foundation
- Lip Balm
- Black Liner
- Lip Brush
- Lipstick of your choice! (Red works best)
Now first of all, what I tend to do before I put all of my face makeup on is I apply a lip balm all over my lips, so that they are soft, supple and ready for when I get to that stage in my makeup! This is optional but if you’re going to be using a dry Black liner for this look(especially eyeliner), or a mattifying lipstick, I would highly recommend this to prevent flaking.

I normally blot my lips after this step because I would have had my lip balm on for long enough. This is where you need to get either a concealer or foundation and lightly dab all over the lip area. This is so we have a nice blank canvas to start with and it will enable the true colours to appear. This also prevents the colours bleeding and messing up your lips! I normally highlight my cupids bow to accentuate my lip shape and give the appearance of fuller looking lips, this step is optional though.
- Step 1: Apply concealer/foundation to lips
- Step 2: Outline your lips with a Black liner. I used Smolder Eye Kohl by MAC. As you can see I have overlined mine to give a fuller appearance (trust me I need that, haha). Then, start dragging your line to the inner corners of your lips. The length you want to extend it to is up to you. The closer you draw to the center of your lips, the more dimension it will give. It doesn’t matter if it’s slightly messy as we’re going to go back and clean it up soon.
- Step 3: Taking your lip brush, blend the line you just drew inwards to create a seamless gradient.
- Step 4: Apply the lipstick of your choice and blend further! I used Ruby Woo by MAC (If need be, conceal any smudges or uneven lines).
All done! If you want even more dimension, you can of course go back in with the liner and re-apply to your desired intensity. And/or you can apply a clear lip-gloss in the center of your lips! This is my preferred option.
Red is my favourite colour for ombré lips, but you don’t have to limit yourself to just that colour! Here’s another one I tried:
I used the same Black liner, Barry M Loud Mouth Extreme Lip Colour in Tell-Tale, and you’ll never guess what I used for the Purple lips… Oil pastel!
I hope you liked this post, very bold yet simple for anyone to achieve! And if you’re not usually one to wear bold lips, give it a try at home!

